Special technique: Watercolour
Kids 6 years and older
10 min
What you need:
Grip Watercolour EcoPencils,
Brush, Water Cup Click&Go
By applying a wash, you can convert drawings made with GRIP and watersoluble pencils into aquarelle paintings. For this purpose you can apply specific watercolour techniques which will give each painting its extra special touch. Many exciting possibilities open up when you also use stencils or sponges. Below you will find a few ideas and suggestions. Feel free to give them a try together with your child.
Dabbing
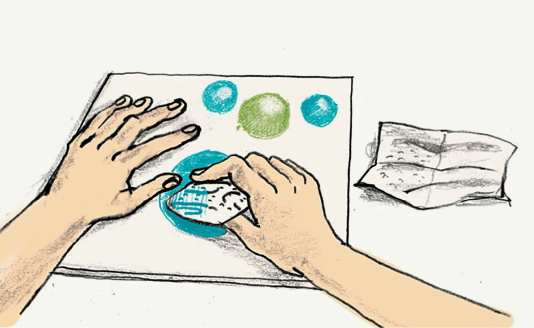
Removing wet colour by means of dabbing at the object with a piece of crumpled up paper will generate additional effects.
Why not try dabbing another way! Follow these instructions and together with your child you will conjure up light spots and highlights that make your pictures look more vivid. Simply proceed the following way ...
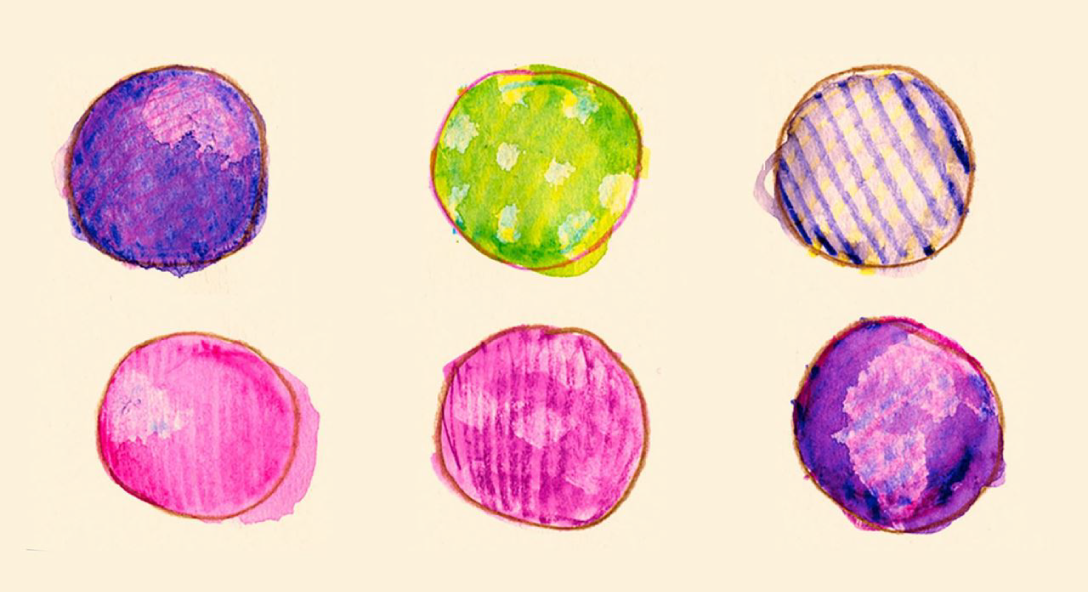
...after applying a wash over coloured parts of your picture, these parts will remain wet for some time. If you take an absorbent cloth or a piece of paper towel and dab the paint off the picture you may selectively remove some of the colour.
Stencils...
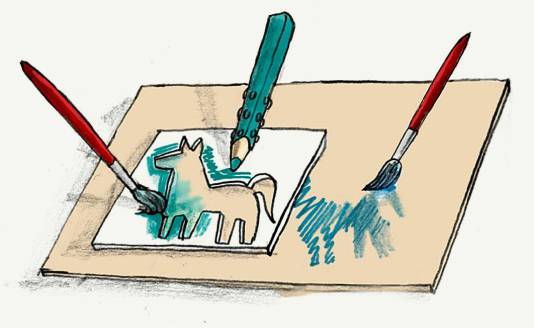

... are boring because you can only draw the same picture over and over again? No, that’s simply not true! With a few tricks, you and your child can create various variations of pictures with the help of a stencil, a couple of coloured pencils and a few drops of water.
By the way, you can make cardboard stencils without any further ado. Just draw a simple motif and cut it out by means of a cutter. Should you not be an experienced ‘cutter’, you should make sure that you do not hold the knife too upright and never move it towards your hand. And now, you will finally get some information about stencil techniques…
1. Watercolour style effect wipe
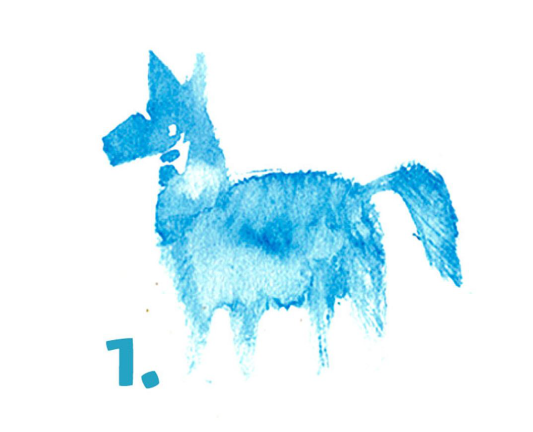
Colour the edge of the stencil by using watersoluble pencils; then draw the paint toward the centre of the pattern by means of a damp paintbrush.
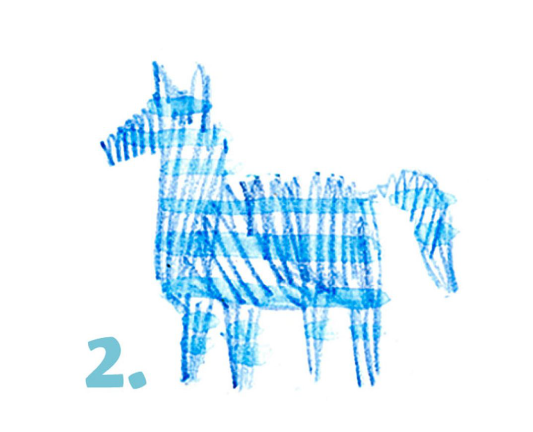
2. Zebra crossing
Shade the centre part of a stencil by employing a pencil. Remove the stencil, then take a paintbrush and put stripes, checks and dots onto the pattern.
3. Rainbow colours
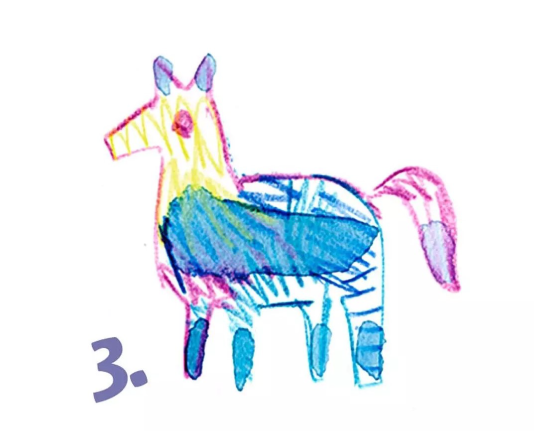
Why merely use one colour when you have a whole paint box at your disposal? Use a few colours and paint the areas inside the stencil. Put water on the coloured areas, then wipe or dab them with a paper towel.
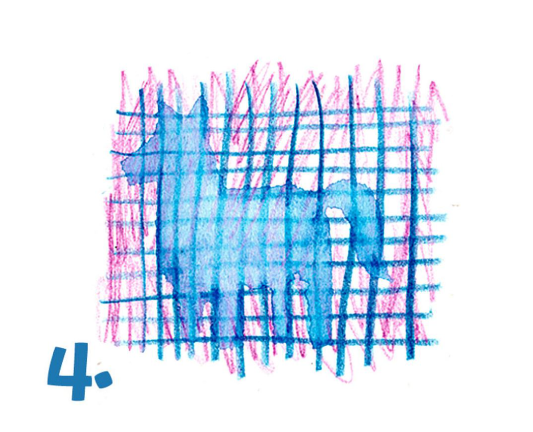
4. The magic stencil
Draw a pattern by means of dense hatching strokes, then put the stencil on top of it, apply a damp paintbrush and draw inside the stencil.
Shadow effect
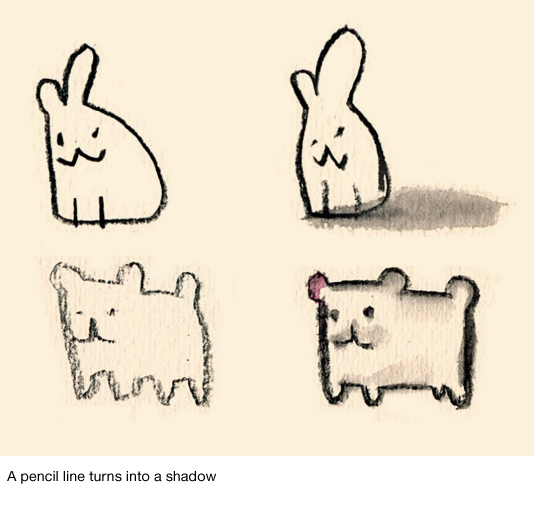
It is easy to draw sensational shadows by referring to watersoluble contours.
For this purpose, you have to apply a wash over the contours on the edge of the figure. Wiping the colours towards the centre will produce a three-dimensional effect. If you wipe the colours towards the outer edge you will obtain a shadow effect which looks like the shadow of the figure.
